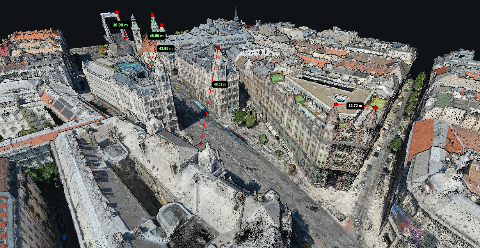
Aerial photogrammetry and ground photogrammetry describe where the photographs are taken. They are useful distinctions because camera position determines which surfaces can be observed. A roof seen clearly from above and a wall seen clearly from the ground are different reconstruction problems.
You may encounter lists of three types of photogrammetry. Those lists can mix classifications by camera location, capture distance or processing method. For planning a real job, it is more useful to identify the surface, the viewpoints and the required deliverable than to rely on a fixed number of categories.
Key takeaways
Camera position decides which surfaces exist in the result. Software cannot reconstruct what no photograph saw.
Aerial images cover a site and suit orthomosaics. Ground and oblique images fill in walls and overhangs.
Adding images only helps when they overlap with and connect to the rest of the set.
In MapperTool every image needs a GPS position, including photos taken from the ground.
What are the types of photogrammetry?
Most lists group photogrammetry by where the camera is and how far it is from the subject. The names vary between textbooks and software vendors, but three groups come up again and again.
Type | Camera position | Best for | Main limit |
|---|---|---|---|
Aerial | Above the site, on a drone or aircraft | Site coverage, orthomosaics, elevation models | Misses walls, overhangs and anything under cover |
Terrestrial or ground | On the ground, at standing height or on a pole | Facades, walls and features seen from the side | Covers less area per photo and is harder to place in a site map |
Close range | Close to a small object or detail | Objects, components and fine surface detail | Small coverage, scale needs a reference |
Oblique drone photography sits between the first two. The camera is in the air but tilted, so it sees roofs and walls in the same image. It is often the practical way to add facade detail to an aerial survey without a separate ground campaign.
What does an aerial overview give you?
Views from above are useful for covering a site and producing an orthomosaic. They can record visible ground, roofs and other exposed surfaces across the project area. If you are deciding between map products, the output guide explains what an orthomosaic, a DSM and a DTM each show.
The limitation is also geometric. Looking down does not give a complete view beneath an overhang or along every wall. More photographs from essentially the same direction may still leave the important surface unseen.
When do you need a view from the side?
Ground or oblique photographs can observe features that a vertical view misses. They also introduce their own capture requirements. The same surface needs to remain visible across overlapping photographs, with sufficient detail and useful changes in viewpoint.
A photograph taken close to one facade does not automatically connect well with an aerial survey. Plan the relationship between views rather than assuming that adding another folder of images always improves a model.
How do you combine aerial and ground images?
Treat the combination as one capture plan, not two jobs glued together. The ground images should overlap with each other and share visible features with the aerial images, such as building corners, kerbs or markings. Without those shared features the software has nothing to tie the two sets together.
Fly the aerial survey first, then decide which surfaces it missed.
Photograph those surfaces with steady overlap, moving along them rather than shooting from one spot.
Include some views that show both the missed surface and features also visible from the air.
Keep the original files, so the GPS position and camera data stay in every image.
Before processing, run the set through the checks in our photo readiness checklist. A mixed set fails more often on missing metadata than on the reconstruction itself.
Choose the output and then the capture
For an orthomosaic of a yard, start with coverage of the visible site. For a facade measurement, inspect whether the capture actually observes the required wall and edges. For a complete object model, consider the surfaces hidden from any one viewpoint.
Our point cloud measurement guide explains why missing geometry matters when choosing endpoints and surfaces.
How do you check what was reconstructed?
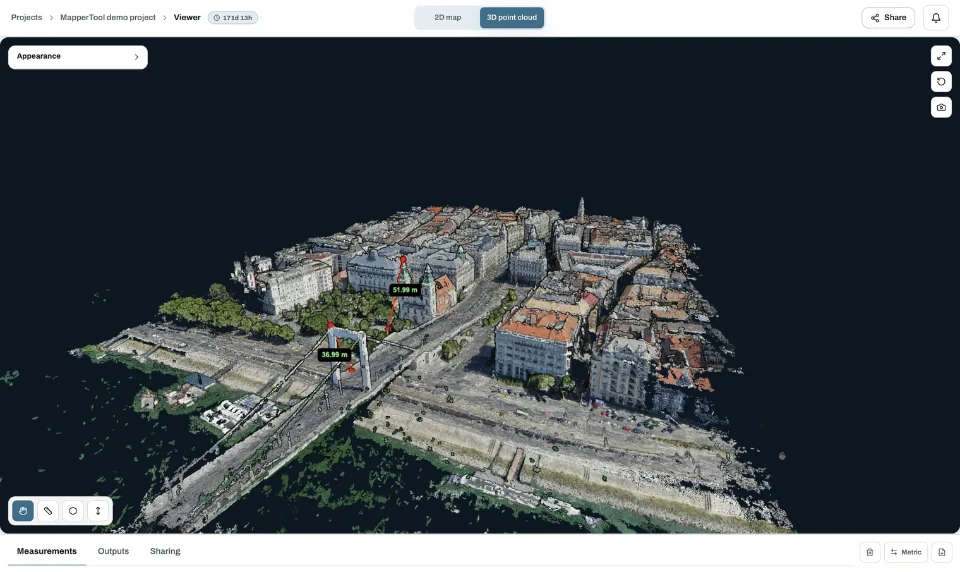
Rotate the point cloud and examine the surface from more than one direction. Look for holes, stretched features and edges that do not have enough observations. A recognisable building from a distant view may still lack the wall detail needed for a measurement.
MapperTool provides a processing and review workflow for suitable geotagged imagery. Its browser viewer helps you inspect the map and 3D result before measuring or sharing them, so gaps show up before the client finds them.
Which capture mistakes leave gaps?
Most holes in a reconstruction trace back to a handful of capture habits. They are easy to avoid once you know to look for them.
Flying only a vertical grid over a site where the walls matter.
Taking ground photos from one standing position and turning on the spot, instead of walking along the surface.
Shooting into strong backlight or deep shade, so the same feature looks different from one image to the next.
Mixing images from different days, when parked vehicles, stockpiles or shadows have moved.
Copying photos through an app or editor that strips the GPS position and camera data.
Each of these produces a result that looks fine from a distance and fails at the detail you needed. Check the surfaces that matter to the job in the 3D view before you measure or share anything, and plan a short return visit if a key wall or edge is missing.
Frequently asked questions
What are the three types of photogrammetry?
Lists usually name aerial, terrestrial (ground) and close-range photogrammetry, grouped by where the camera is and how far it is from the subject. Some sources group by method instead, so the exact three names vary.
What is aerial photogrammetry?
Aerial photogrammetry reconstructs a site from overlapping photographs taken from above, usually by a drone. It is the common route to orthomosaics, elevation models and site point clouds.
Can I mix drone photos and ground photos in one project?
It can work when the two sets overlap and share visible features. In MapperTool every image, including the ground photos, needs a GPS position in its EXIF data.
Why does my point cloud have holes in the walls?
Usually because no photograph saw those surfaces well enough. Adding oblique or ground images of the missing areas is more effective than flying the same vertical pattern again.
Use the capture method that gives the necessary observations, then review the result in context. The aim is a dataset that answers the job's question, whether the photographs came from above, from the ground or from a deliberately planned combination.